How to Break In Hockey Skates Without Damaging Them
Learn how to break in hockey skates safely, reduce heel and ankle pain, and decide when heat molding or professional fitting is the better option.
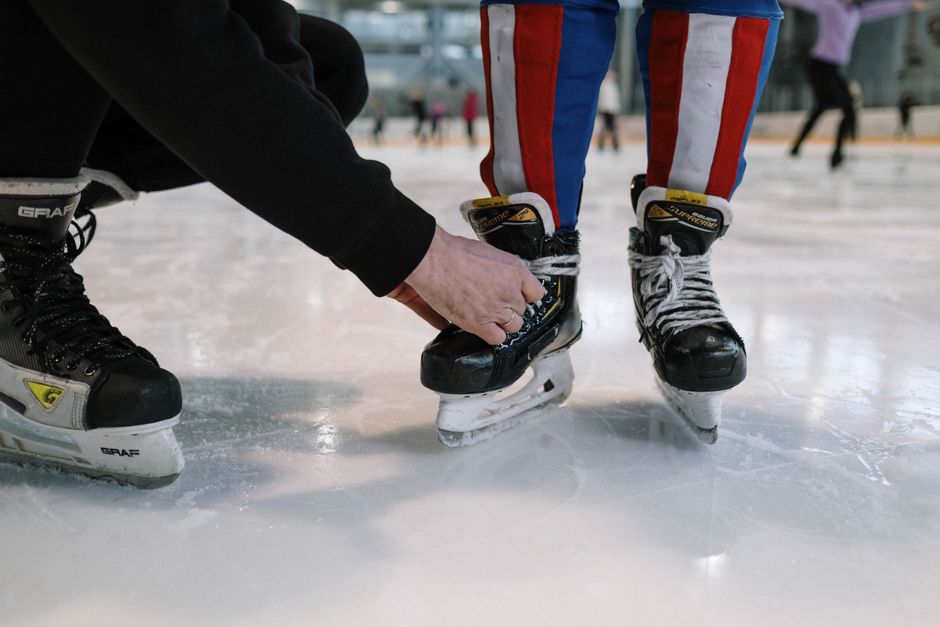
Breaking in hockey skates means gradually shaping the boot around your foot while keeping the heel secure and the ankle supported. New skates often feel stiff, create pressure points, or cause soreness during the first few sessions. The safest approach is a short, controlled break-in period combined with proper lacing and, when suitable, professional heat molding.
How long does it take to break in hockey skates?
Most players need several ice sessions before new hockey skates feel comfortable. The exact time depends on the skate model, the stiffness of the boot, how often you play, and how closely the size and shape match your feet.
Some modern hockey skates soften noticeably after two to five sessions. Very stiff performance skates may take longer. Mild pressure around the ankle or sides of the foot can be normal, but sharp pain, numbness, blisters, or persistent heel movement usually indicates a fitting or lacing problem rather than ordinary break-in discomfort.
Use short skating sessions first
Start with a 20- to 30-minute session instead of wearing new skates for a full practice. Skate at a moderate pace and pay attention to specific pressure points. If discomfort becomes sharp or your feet become numb, stop and remove the skates.
Increase skating time gradually over the next few sessions. Changing direction, stopping, and making controlled turns helps the boot flex in the places that matter on the ice. Avoid trying to force the process by skating through severe pain.
Wear the right socks and lace the skates correctly
Use thin, moisture-wicking hockey socks rather than thick casual socks. Thick fabric can make the skate feel too tight and may create wrinkles that cause blisters. Wear the same type of socks you plan to use during games when testing the fit.
Seat your heel firmly in the heel pocket before tightening the laces. Lace the lower eyelets snugly, keep the ankle area secure, and avoid overtightening the top eyelets. Excessive tension can restrict ankle movement and create pressure over the instep.
After lacing, stand and bend your knees into a skating position. Your toes may lightly touch the toe cap while standing, but they should pull back slightly when your knees bend. Your heel should remain in place when you flex forward.
Consider professional heat molding
Heat molding, also called baking hockey skates, warms the boot so it can conform more closely to the shape of your foot. A hockey shop with the correct oven and fitting equipment should perform this process, especially for high-end or particularly stiff skates.
Ask the fitter whether the skate model is designed for heat molding before proceeding. After molding, the skates normally need to cool while being worn in a seated position so the shape sets around the foot. Follow the shop’s instructions for how long to wait before skating.
Do not put hockey skates in a household oven, use a hair dryer, or apply a heat gun. Excessive or uneven heat can weaken adhesives, damage the boot, distort the holder area, or affect the skate’s structural support. Heat molding can improve fit, but it cannot turn the wrong size or an incompatible boot shape into a correct fit.
Manage heel lift, pressure points, and blisters
Heel lift is usually caused by incorrect sizing, an unsuitable skate shape, loose lacing, or insufficient ankle support. Re-lace the skate with the heel seated properly and check that the foot is not sliding forward. If the heel still lifts substantially, have the skate refitted rather than relying on tighter laces.
For a small hot spot, protect the area with a blister pad or sports tape before skating. Keep feet dry and change damp socks. A recurring blister, burning sensation, or localized numbness needs attention from a qualified skate fitter.
Do not cut, punch, or grind the boot yourself. A professional shop can stretch or punch a specific area if the skate otherwise fits correctly. These adjustments should be targeted, because changing too much material can reduce support or create new pressure points.
How to tell if the skates fit correctly
- Your toes are close to the toe cap without being curled or crushed.
- Your heel stays seated when you bend your knees and lean forward.
- Your foot does not slide from side to side inside the boot.
- You can flex your ankle without severe pressure across the instep.
- Discomfort decreases as the boot warms and flexes, rather than getting worse.
If your toes remain painfully cramped, your heel lifts, or one foot feels much worse than the other after several properly laced sessions, the skates may be the wrong size, width, or volume. A professional fitting can compare the boot with your foot shape and identify the problem.
Common questions about breaking in hockey skates
Can I wear hockey skates around the house to break them in?
Short periods of standing or walking indoors are unlikely to shape the skates as effectively as skating, and walking can wear down the blades or damage floor surfaces. If you do this, use skate guards and limit the time. It should not replace controlled on-ice sessions or professional molding.
Should new hockey skates hurt?
Stiffness and mild pressure can occur during the first few sessions, but significant pain is not a normal requirement. Numbness, bruising, open blisters, or pain that continues after removing the skates signals that the fit or adjustment needs attention.
Can I speed up the hockey skate break-in process?
Professional heat molding is usually the safest way to speed up the initial fit when the skate manufacturer permits it. Otherwise, use short sessions, correct lacing, thin socks, and targeted shop adjustments. Avoid household heating methods and do not skate for long periods in painful boots.